Create a clean, readable, and visually balanced layout by adjusting spacing throughout your congregational booklet or music packet.
Reducing space
To fit content within a specific number of pages, use the tools below to save space.
Content size
Change the font sizes across your entire document using the Content Size feature.
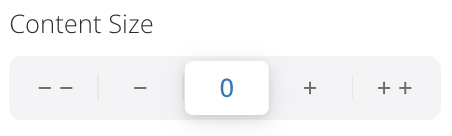
Choose from five settings, from - - (smallest) to + + (largest).
To reduce the size of your text, select - or - -.
Access this setting by opening the Document menu in the left panel.
Note
Content size applies globally and cannot be adjusted for individual sections.
Vertical spacing
Adjust the space above and below lines of text or music using the Vertical Spacing feature.
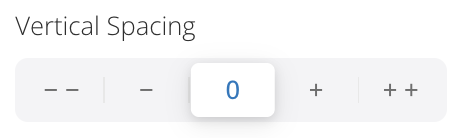
Choose from five settings, from - - (tightest) to + + (widest).
To reduce vertical space, select - or - -.
Access this setting by opening the Document menu in the left panel. Or, select a section from your outline to change vertical spacing on an individual section.
Hiding or modifying verses
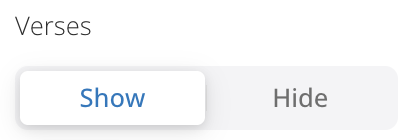
When you’re making congregational booklets, you may wish to hide verses that will not be sung by the congregation.
To hide verses of an antiphon, Responsorial Psalm, or Alleluia, select the corresponding Ordo section and click Hide in the right panel.
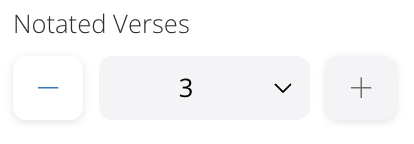
Hymn verses cannot be hidden from the Resource Editor, but you may save space by changing the number of notated verses. When you reduce the number of notated verses, the remaining verses appear below in a text-only format.
To change the number of notated verses, click a hymn from your Ordo and select - or +.
Click 1 Column or 2 Columns to modify the text layout of the text-only verses.
Adding space
To avoid awkward spacing, add visual clarity, and to manage the flow of your document, use the following tools to add space to your document.
Page breaks before sections
If you’re creating music packets, you might prioritize easy page turns and clear section breaks over conserving space. In this case, consider adding a page break before each section.
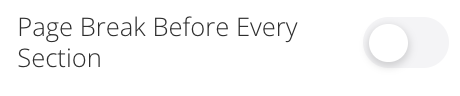
This setting will start each section on its own page for better readability. You can access this menu from the Document menu in the left panel. Click the Page Break Before Every Section toggle to apply it.
You can also add or remove page breaks before individual sections in the right panel.
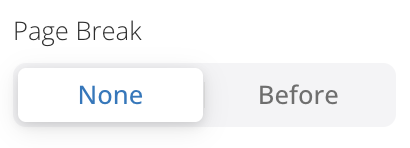
To use this setting, select the section that you would like to modify from the left panel or the center canvas. Customization settings for that section will open in the right panel. Under Page Break, select None to remove an existing page break or Before to add a new page break before the section.
Spacers and Dividers
To separate sections and improve the flow of a congregational booklet or music packet, you can add a spacer or a divider.
Spacers are blank areas that you can add to your resource. You can modify the height of your spacer to add or remove space. You can also insert an entire blank page by selecting Page in the right panel.
Dividers are decorative elements to elegantly fill a space in your Resource or to add visual separation between sections. Insert a divider to define sections or at the bottom of a page to fill space. You can modify the width of your spacer, add space above and below, or rotate the design.
Adding a Spacer or Divider
From the Resource Editor, scroll to the section where you’d like to add a Spacer or Divider.
Click Elements in the left panel.
→ Spacers and Dividers will open on the left.
Drag a Spacer or Divider to the center canvas.
→ Modification settings will open in the right panel.
To modify the size, click and drag the edges of your element from the center canvas. Or, make precise changes in the right panel.
Moving a Spacer or Divider
From your Outline, drag and drop the Divider to move it to a different section of your Ordo.
Removing a Spacer or Divider
From the center canvas:
Click the Spacer or Divider that you’d like to remove.
Click the more options menu on the right side of the section.
Select Remove.
From the Outline menu:
Click Outline in the left panel.
→ Spacers and dividers will appear in blue text.
Hover over the Spacer or Divider that you’d like to remove.
Click X to remove.
Increase content size
Increase the font size to make it easier to read:
Open the Document menu in the left panel.
To increase the size of your text, select + or + +.
Increase vertical spacing
Increase the vertical spacing to make it easier to read:
Open the Document menu in the left panel. Or, select a section from your outline to modify an individual section.
To increase the size of your text, select + or + +.